

 Drapey Linen/Viscose from Bolt Fabric Boutique .
Hello Everyone!
Welcome to the Romey Gathered Dress/Top tutorial. Jane made the video tutorial for this style a few months back when the pattern was released but we completely forgot to add the tutorial to the blog - apologies. Anyhow, better late than never.
I have to admit that these images are a little difficult to see since they were taken from our video tutorial on YouTube that you can see here. The good news is that the bodice steps 1 a. - 7. are the same as the Remy Raglan and you can see that tutorial a little more clearly here if this one does give you trouble.
When choosing fabrics for your Romey dress or top, think about whether you'd like a drapier version like the top photo, or whether you would like a stiffer version like the two below.

Mid-weight linen from the Fabric Store .

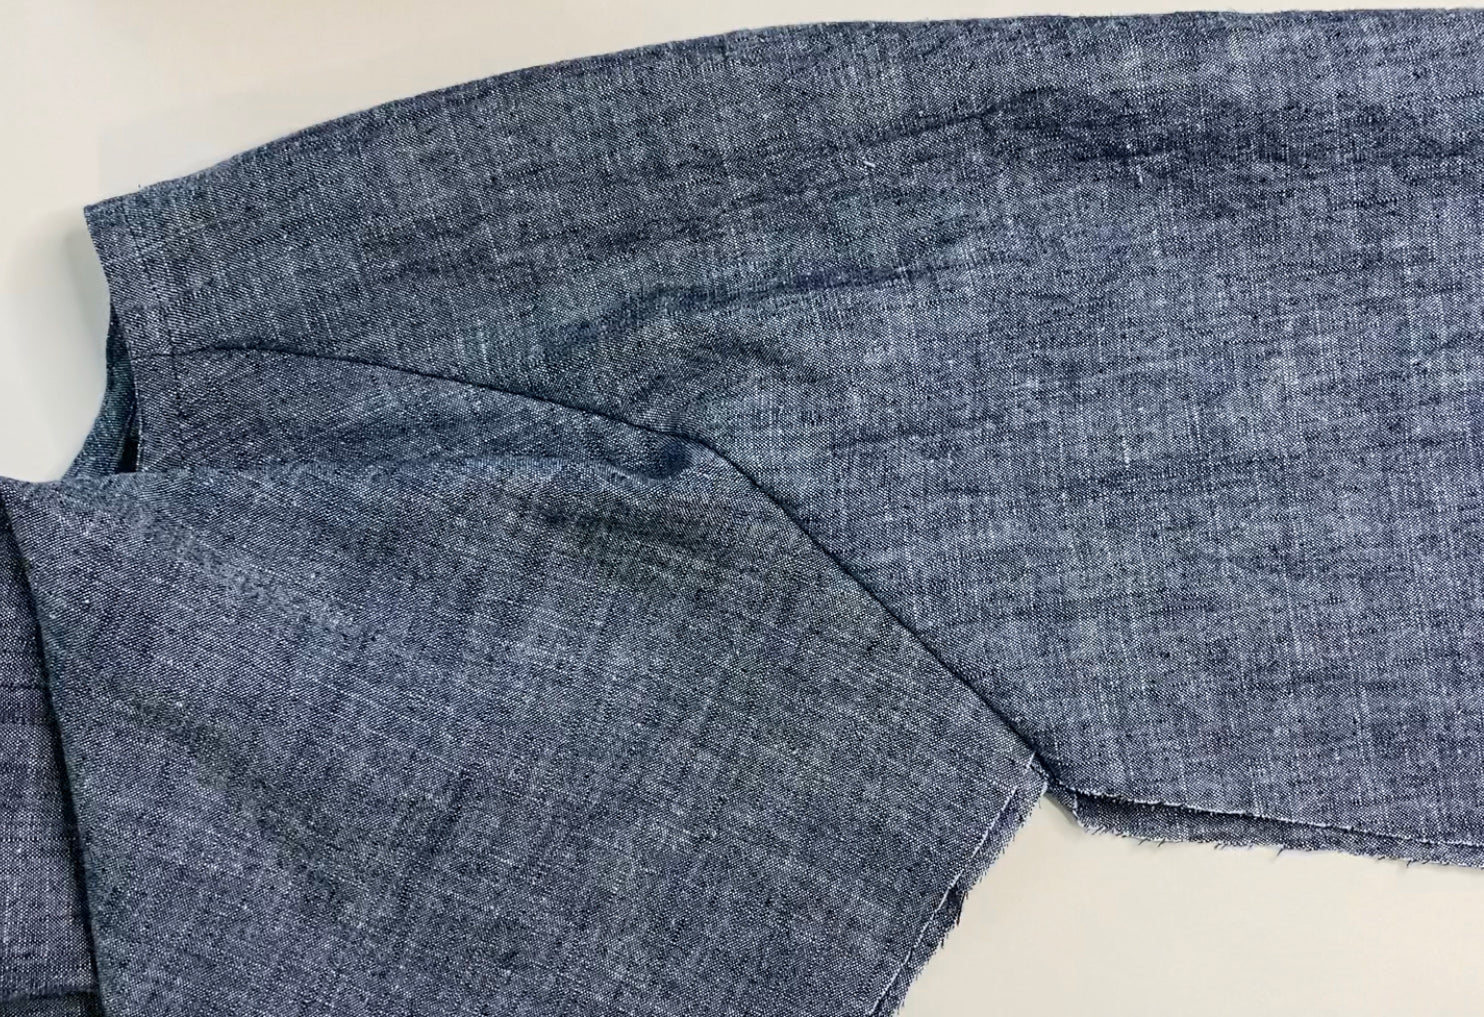
Heavy weight linen/cotton double face from Mill End Fabrics.

Drapey Ecovera viscose fabric from Blackbird Fabrics.
Other than fabric, you will need thread and a 12mm - 20mm (20L - 30L) button and that's it! So now we are ready to sew.
Again, you can also see better images for steps 1 a. - 7. here (Remy steps 1 a. - 3 b.) The Remy steps are the same until you need to make the pockets and the skirt for the Romey Gathered Dress/Top. After step 3 c. of the Remy, return here to the Romey. The step numbers aren't the same fyi.
1 a. Turn up the long sides of the BUTTON LOOP (7) 1/4”/6mm towards the wrong side and press.

1 b. Fold the BUTTON LOOP in half lengthwise and press.

1 c. Stitch the BUTTON LOOP together lengthwise close to the edge.

1 d. Fold the BUTTON LOOP in an arrow shape as shown. Trim it to 1 1/2”/ 4 cm in length.

1 e. Overlap one end over the other and baste in place.

2 a. Mark the center front stitching stopping point by adding a dot with a fabric marker, chalk or pin 3/4”/2cm across from the center notch on the FRONT BODICE (1) on the wrong side of the fabric. Repeat with the other side.

2 b. Fold the center front edge of the FRONT BODICE (1) in 1/4”/6mm toward the wrong side and press. Repeat with the opposite side.

2 c. With right sides together, attach the FRONT BODICES (1) together at the center front seam. With a 1/2”/13mm seam allowance (from the folded edge), start at the bottom and stitch up to the dot near the top center front neck.

2 d. Lay the front open, wrong sides up and press the seam open all the way up through the split front opening keeping the raw edges folded under that 1/4”/6mm from step 2 b.

2 e. On the right FRONT, unfold the top, center front, turned back seam allowance and attach the BUTTON LOOP 3/8”/10mm down from the top, aligning the raw edges of the button loop with the inside folded edge of the front neck split. Stitch it down again just to the right side of the foldline on the seam allowance.

2 f. Lay the FRONT at with right sides up. Stitch down the folded center front seam allowance 3/8”/10mm away from the center front seam on each side. You can also stitch from the wrong side as it makes it easier to see that you are stitching right along the folded edge of the seam allowance.

3. Set your machine stitch length to the longest option and stitch 1/4”/6mm away from the bottom SLEEVE (3) edge from notch to notch. Now stitch another row of stitching about 1/2”/13mm away from the edge and parallel to the first row of stitching. Leave the thread tails long and do not backstitch. Repeat with the second SLEEVE.

4 a. French seams - With wrong sides together, attach the SLEEVE (3) to FRONT (1) using a scant 1/4”/ 6mm seam allowance. Trim any fraying fabric threads and edges so that the seam edge is very close to the stitching - approximately 1/8”/3mm. A zig-zag stitch right on the edge may also be used for this step because it may reduce the loose threads that need to be trimmed. Press the seam to one side.

4 b. Fold the seam back on itself so that the Front Bodice (1) and Sleeve (3) are now right sides together and press. Enclose the raw edges of the first seam by stitching a 3/8”/10mm seam allowance. Press the seam toward the sleeve. Repeat steps 4 a. - 4 b. with the second sleeve.

4 c. Attach the BACK BODICE (2) to the SLEEVE (3) using the same French seam method described in steps 4 a - 4 b. Press the seam toward the sleeve. Repeat steps with the second sleeve.

5 a. With right sides together, pin the BIAS NECK FACING (6) to the neck edge starting and ending at the center front neck split. Fold the ends back 1/4”/6mm (trim any excess facing). Stitch in place with a 3/8”/10mm seam allowance. You can trim the seam down to reduce bulk, however, I like to keep it at 3/8”/10mm to act as a guid for folding over the outer edge of the facing in step 5 d.

5 b. Clip the curves around the neckline about 1/2”/13mm apart. Clip close to the stitching, taking care not to clip through the stitching.

5 c. Understitch the NECK FACING by pressing the seam allowance towards the facing/ away from the neckline and then stitching close to the seam on the facing, catching the seam allowance underneath.


5 d. Turn the NECK FACING edge up about 3/8”/10mm or until the edge meets the stitching. Continue along the entire NECK FACING and press.

5 e. Tuck the seam allowance inside the turned up edge and press.
6 a. Turn the NECK FACING toward the inside, press and pin in place.

6 b. Stitch the NECK FACING down, about 3/8”/10mm away from the finished neck edge.

6 c. Lay the FRONT BODICE out to determine where the button should be placed on the left front so that the FRONT BODICE will lay at when buttoned. This should be approximately where the hem stitching intersects. Now using a hand sewing needle and thread, attach the button.

7. With wrong sides together, attach the FRONT BODICE to the BACK BODICE at the underarms and sides using the French seam method described in steps 4 a - 4 b. Starting at the bottom, stitch up the side, through the underarm to the end of the SLEEVE. Press the seams toward the back.
8 a. With right sides together, fold the SLEEVE CUFF (8) so that the short ends meet. Stitch the ends together with a 3/8”/10mm seam allowance. Press the seam open. Repeat with the second SLEEVE CUFF.

8 b. Turn the bottom edge of the SLEEVE CUFF (8) up 3/8”/10mm towards the inside and press.

8 c. To form the gathers:
1. Gently pull one end of the bobbin thread tails on one side of the SLEEVE until gathers form.
2. Gather until it looks like the SLEEVE opening is roughly the same circumference as the SLEEVE CUFF.

8 d. Pin the unfolded edge of the right side of the SLEEVE CUFF to the wrong side of the bottom SLEEVE opening. Align the SLEEVE CUFF seam with the underarm seam and the center notch of the SLEEVE to the notch on the SLEEVE CUFF.

8 e. Continue to pull the thread tails for more gathers or release gathers as needed until the bottom SLEEVE ts the SLEEVE CUFF. Distribute the gathers evenly between the pins and stitch in place with a 3/8”/10mm seam allowance. Trim the seams.
8 f. Fold the SLEEVE CUFF folded edge up towards the right side of the SLEEVE until it barely covers the CUFF to SLEEVE seam. Press and pin the sleeve cuff in place and then secure it by edgestitching next to the folded edge. Press.


Repeat steps 8 a.-8 f. for second SLEEVE and SLEEVE CUFF.
PATCH POCKET ASSEMBLY
9 a. Turn the top of the PATCH POCKET (9) down 1/4"/6mm toward the wrong side and press.

9 b. Finish the inner edge and bottom edge of the PATCH POCKET (not the double notched, side seam edge) with a serged edge or a zig-zag stitch.

9 c. With right sides together, fold the top POCKET edge down 1"/2.5 cm at the top notches. Stitch the tuned edge down on the finished edge side 3/8"/10mm in from the inner side edge. Now turn the corner right side out and press.


9 d. To miter the inside, bottom corner of the POCKET, fold the side edge in 3/8"/10mm and the bottom edge up 3/8"/10mm. Press.

9 e. Unfold the edges and turn up the corner at an angle- up to the pressed corner point. Press.

9 f. Fold the side edge and bottom edge again along the pressed lines nd press again.
9 g. Hem the top of the POCKET with a straight stitch- 7/8"/2.25 cm down from the top edge.

9 h. Lay the PATCH POCKET on top of the FRONT SKIRT (4) aligning the top of the pocket to the top side notch of the SKIRT and the lower notch of the POCKET to the lower notch on the side of the SKIRT. Pin in place.

9 i. Topstitch/edgestitch the POCKET in place. Start the stitching at the side seam (a) and edgestitch the bottom POCKET, pivoting at the inside corner (b) and continuing up the inner edge of the POCKET top (c). To continue making the top pocket stitch detail, make another pivot at the top (c) and stitch for about 3/8"/10mm (d) and then stitch down again at an angle to meet the top hem (e). Repeat steps 8a-8i with other POCKET.

SKIRT/PEPLUM ASSEMBLY
10 a. French seams- With wrong sides together, attach the FRONT SKIRT/PEPLUM (4) to the BACK SKIRT/PEPLUM (5) at the sides using a scant 1/4"/6mm seam allowance. Trim any fraying fabric threads and edges sp that the seam edge is approximately 1/8"/3mm. A zig-zag stitch right on the edge may also be used for this step because it may reduce the loose threads that need to be trimmed. Press the seams to one side.

10 b. Now turn the SKIRT/PEPLUM inside out so that right sides are together. Now enclose the raw edges of the first seam by stitching down the sides again using a 3/8"/10mm seam allowance. Press the seams towards the side and repeat the process with the other side as well as when attaching the BACK SKIRT/PEPLUM (4) to the SIDE SKIRT/PEPLUMS.

10 c. Now set your machine stitch length to the longest option and stitch 3/8"/10mm away from the top SKIRT/PEPLUM WAIST edge. Stitch from the top center notch on the SIDE SKIRT/PEPLUM to the top center notch on the other SIDE SKIRT/PEPLUM. Next make another row of stitching about 5/8"/16mm away from the edge and paralell to the first rows of stitching. Leave the thread tails long and do not backstitch. Gently pull the thread tails until they form gathers.


11 a. With right sides together, pin the SKIRT/PEPLUM to the BODICE at the waist. Match and pin at the side seams, center front and center back waist notches. Then gentle pull the thread tails to adjust the gathers to fit the BODICE waist opening. Distribute the gathers evenly.
11 b. Attach the SKIRT/PEPLUM to the BODICE by stitching a 1/2"/13mm seam allowance (the stitching should end up between the two basting/gathering stitch rows.)

Pull the basting stitches once the final secured stitching is completed. Finish the seam with a serged edge or zig-zag stitch and press towards the BODICE.

HEM THE SKIRT/PEPLUM
12 a. Turn the bottom SKIRT/PEPLU< in 3/8"/1cm towards the inside and press. Then turn it up another 3/4"/2cm and press.


12 b. Stitch the hem in place 5/8"/16mm from the folded bottom edge. Press.

FINISHED!
We would love to see your #romeygatherdress on Instagram!