


Hi everyone, Jane here-
Welcome to the end of Remy September!
We had this idea when sewing up the Elastic Waist Pattern Hack and had to share it with you. This is another way to add a gathered waist to your Remy Raglan, with the option to customize placement and number of rows to your taste. Since this hack is for a completed garment, it's a great way to give an older Remy Raglan a new life.
You will need:
- 1/2" wide Single Fold Bias Tape (actual garment width at desired placement x number of rows you will make)
- 1/4" Elastic (length that comfortably stretches around your waist at desired placement x number of rows you will make)
- Safety pin for guiding elastic through tunnel
- Chalk, ruler (clear grid ruler is ideal)
NOTE: In this tutorial we are using a Remy Raglan that was sewn according to the original pattern. If you would like a slightly more cropped and less flowy version you may consider squaring off the bottom and side curves before you cut your pattern as demonstrated in our Remy Raglan Elastic Waist Hack. You might also omit the French seams to reduce bulk in the elastic tunnels.
1. Try on your finished Remy Raglan and decide where you would like the waist to cinch. Mark with a pin or chalk.
2. Locate your mark. On the inside of your top, use a ruler to mark the same distance from the bottom hem all the way around.

3. Starting at a side seam, pin the single fold bias tape along the mark. Leave 1/2" overlap.
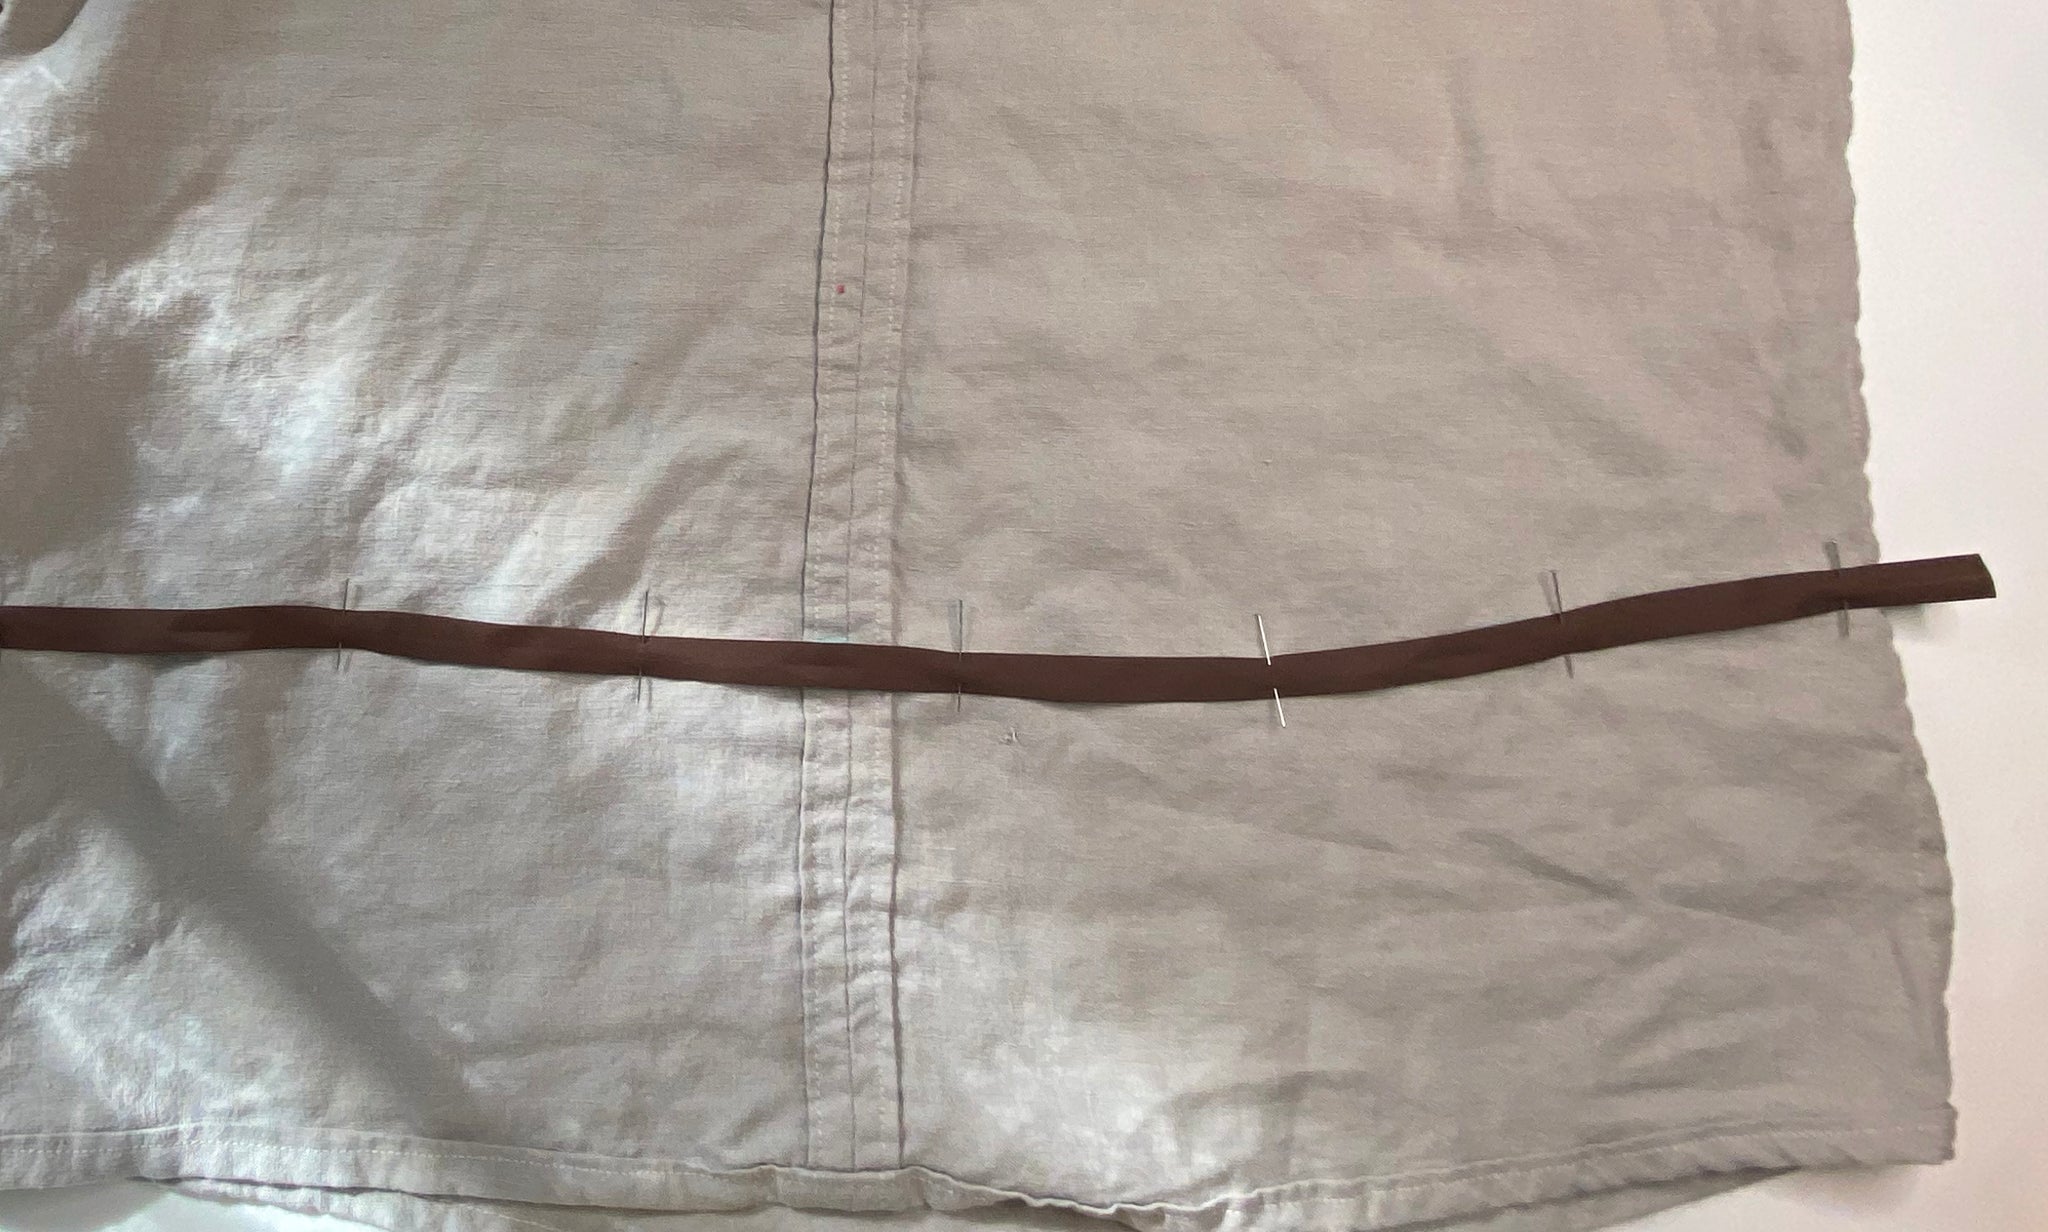

4. Edge stitch both sides of the bias tape. Do not sew shut. Leave overlap open and unstitched.


*Repeat steps 2-4 for each row of shirring you would like to add. Leave 1/2" between each strip of bias tape.*
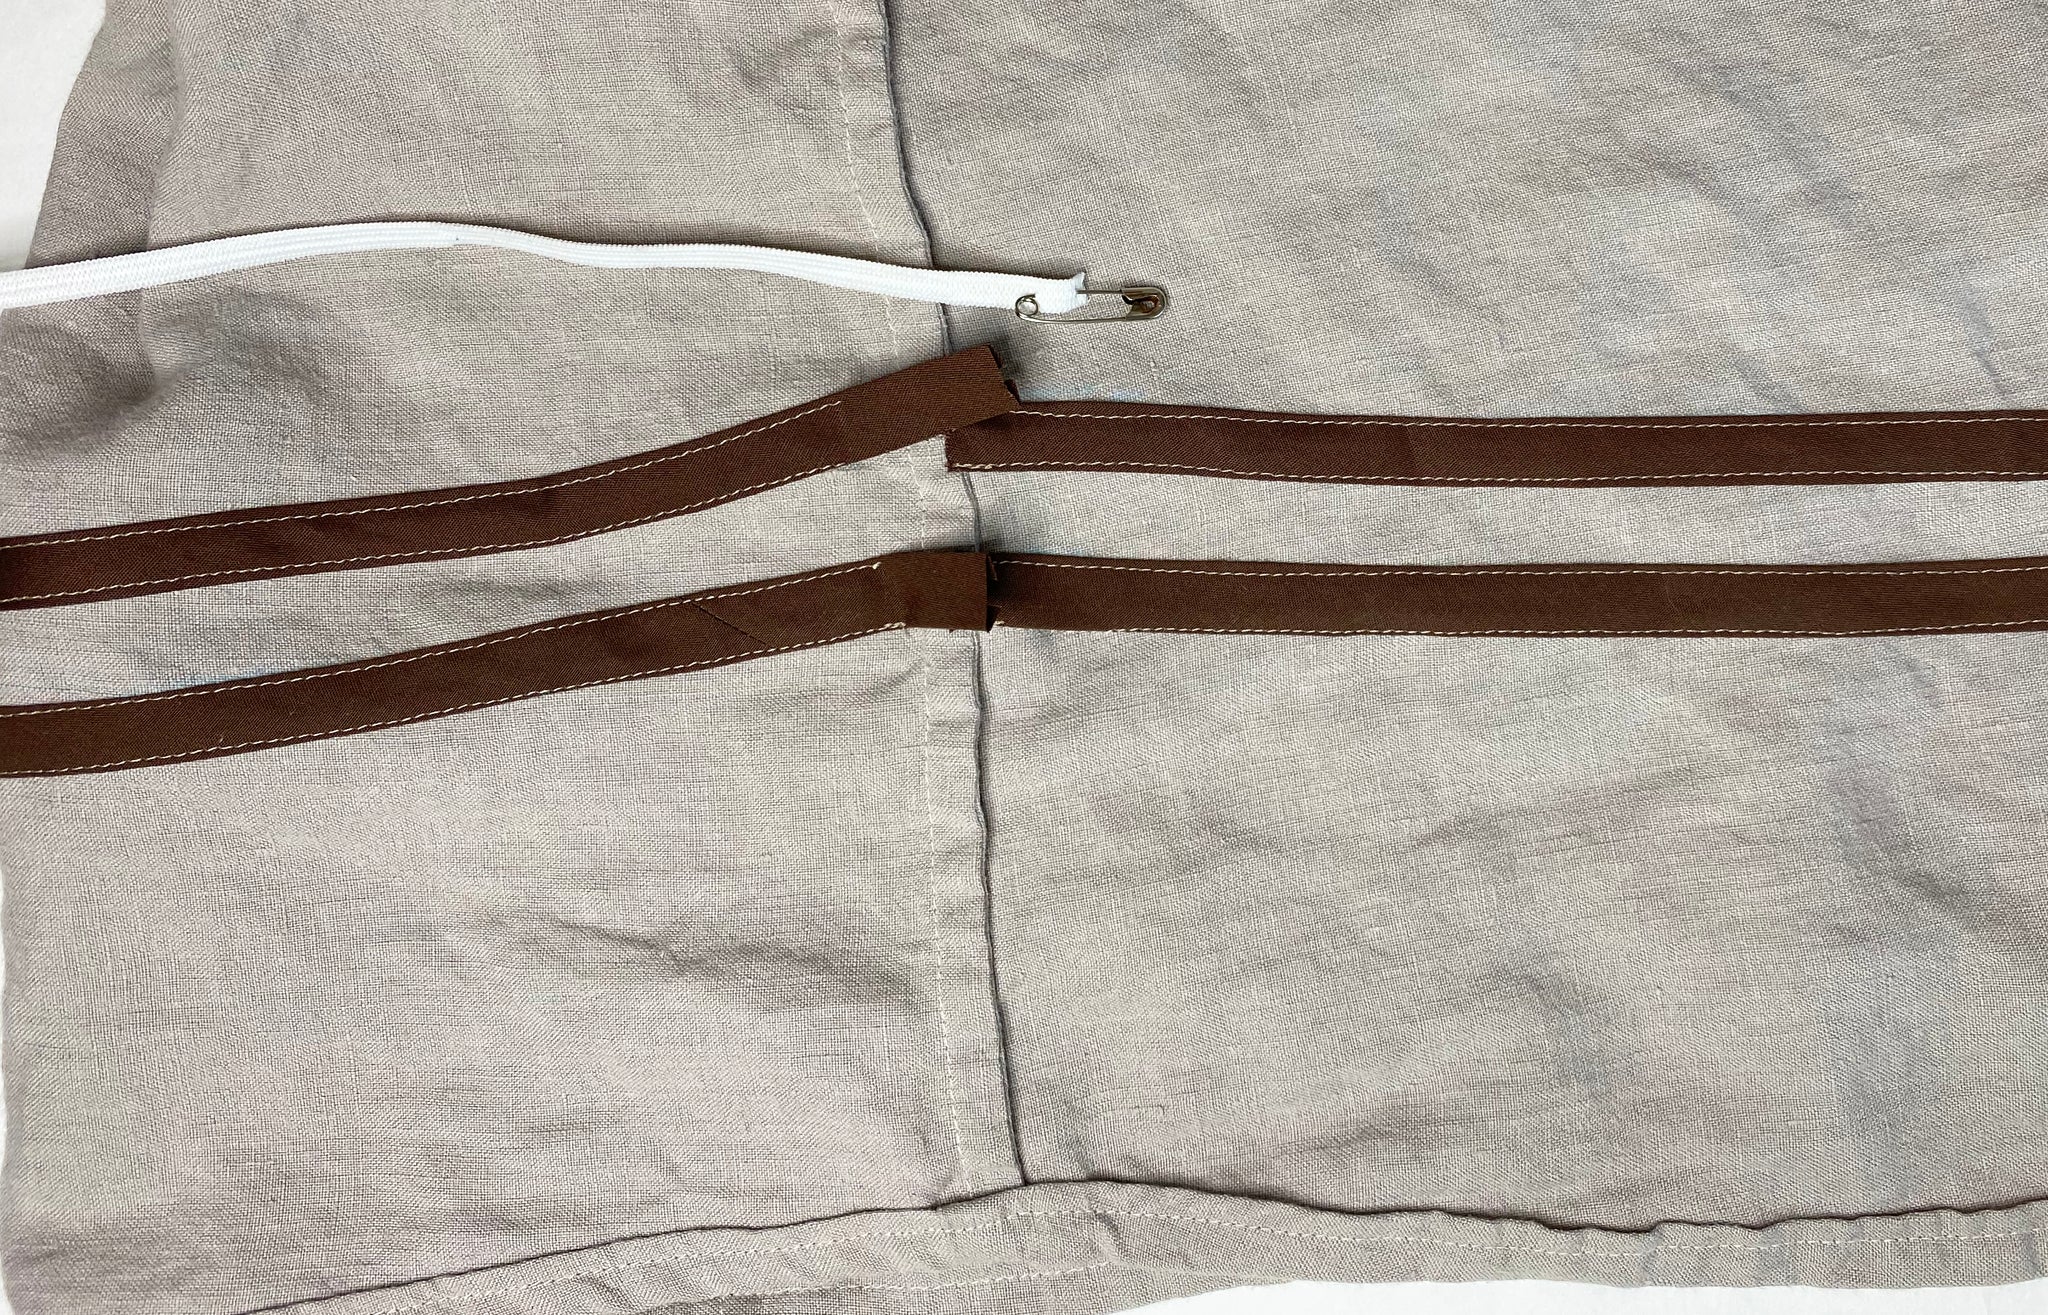
5. Use your safety pin to guide your 1/4" elastic through the tunnels. When the beginning of your elastic is almost entirely encased, stitch down that end. When the end of your elastic is all the way through, stitch down that end as well. (You may decide instead to stitch the elastic to itself when both ends are still visible, but I find that it can be difficult to manage 1/4" elastic in shirring with multiple tunnels.)

6. Stitch down the overlapping bias tape to fully enclose elastic.


FINISHED!
We would love to see your finished #remyraglan on Instagram.