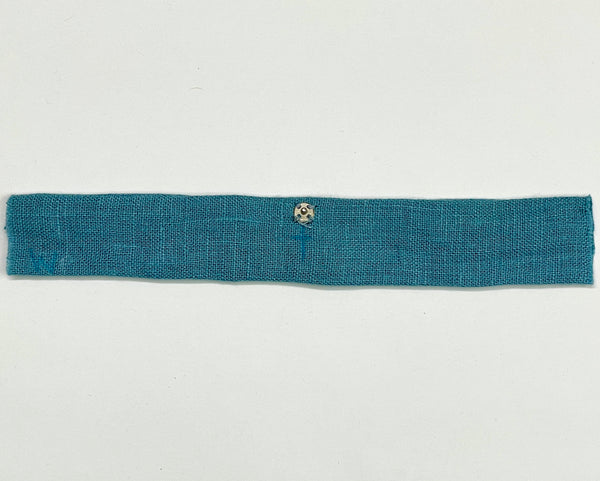
Here at Sew House Seven, we are all about the details, those extra small touches that make our garments easy to wear, and add polish and elegance. We love a strappy sundress, but don't love it when our pesky bra straps go rogue! With that in mind, we've included instructions to make a bra keeper in our latest pattern, the Sauvie Sundress. Today, we're sharing this tutorial to show you just how easy it can be to add this small detail to the Sauvie Sundress, and all your makes!

To get started, collect your supplies! You will need:
- The strap you are attaching your bra keeper to (I made the tutorial prior to inserting the strap into my dress, but you can add your bra keeper after your dress is constructed)
- hand-sewing needle
- matching thread (if you find your thread is knotting, you can wax it with beeswax. Iron your thread between 2 paper towels to remove excess wax)
- 8mm or 2/0 snap set (you will need 1 set for each strap)
- ruler
- marking tool
- snips
Once you've collected your supplies it's time get started!

1. The first step is to mark both the vertical and horizontal center of your strap, on the underside.

2. Next, measure 3/8" (10mm) from the centerline of your strap on each side, and mark with a pin.
 Note: The ball side of the snap side is the side with the protruding ball. The socket side is the side with the indentation, which the ball side fits into. It doesn't matter which snap piece you use on which side of your strap, although it is easier to snap it closed on the side closer to the neckline. For our demonstration we used the ball side attached to the dress strap, and the socket side attached to the thread chain.

3. Thread your needle with approximately 16" (40cm) of thread. With thread doubled, sew the ball side of the snap set to the strap on the side closest to the neckline. Sew through each hole of the snap twice to secure. Make sure you are only sewing through one layer of fabric, and your stitches are not visible on the right side of your strap. Knot and trim your thread ends to secure.

4. Thread your needle again, this time with approximately 25" (64cm) of thread. With thread doubled, insert your needle at the second pin, 3/8" (10mm) from the centerline on the shoulder side of the strap. Tie a knot to anchor your thread. Again, make sure you only stitch through one layer of fabric, and your stitch isn't visible from the right side of the strap.

5. Make a loose loop with your thread by inserting your needle into the same spot on the strap and pulling your thread partway through. At this point, you will begin crocheting a chain with your fingers.

5a. Use your thumb and first finger to pull a second loop of thread through your initial thread loop, pulling taut to secure the previous loop.

5b. Next, pull a third loop through the second loop, pulling to secure the previous loop in your chain.

5c. Continue using your fingers to create a chain, pulling one loop through the previous loop until your chain is the correct length.

6. You want your bra keeper to lay flat to your strap. If it is too long it won't secure your bra, and if it is too short it can create a pucker in your strap. Your chain should be just long enough to enclose your bra strap. When your thread chain is the correct length, pull the needle through the final loop, tying it into a knot. This will secure your thread chain.

7. Stitch the socket side of the snap set to your thread chain, through only one of the holes on the snap. Stitch through the same snap hole 3-4 times. Secure your snap with 3 knots and trim your thread ends. You did it!

Now you've got a completed thread chain bra keeper. Repeat all the steps on your second strap.


