


Hello - Jane here! Welcome to our first gift idea tutorial for the upcoming holidays. This year we are going to be geared towards using what you already have to make small, meaningful gifts for your loved ones.

This simple headband targets two common stashes:
-Small pieces of high end fabric
-Short bits of elastic
There are a lot of tutorials out there for this style of headband, so I'm going to focus more on showing you how to make this *style* of headband to suit whatever scraps you have, instead of giving you specific measurements that might send you out to the store again! The goal is to use your stash.
You will need:
2 pieces of fabric from your stash:
One should be between 11-12" long and 3.5-4" wide. This is the elastic casing.
One should be around 16-17" wide and anywhere between 6-16" wide. This is the visible part of the headband.
*Note: the two fabrics don't necessarily have to match as the elastic casing will mainly be under the hair.
One piece of elastic 6" long. You could use most elastic scraps here, but somewhere between 1/2" and 1" wide would be best. If you want to get really clever with your leftover mask elastic you could use several pieces of 1/4" elastic side by side, just make sure they're not twisted or crossed inside the casing!
*Note: It is optional to adjust your elastic tunnel width a little. In the photos I have used 3/4" wide elastic, but the tunnel has plenty of room because it is more like a "scrunchie" than a snug elastic casing in a garment.
Let's get started!
Step 1: Cut your fabric and elastic.

Step 2: With right sides together, stitch the long edge of both the main piece and the elastic casing. I used my serger but a straight stitch will work fine. Seam allowance depends on your elastic width. I used my serger at 1/4".

Step 3: Press seam to one side down the center of the tube.

Step 4: Turn the tube right side out, press again keeping the seam down the center. The side with the seam is now the back/underside of the headband and casing. Turn in 1/2" on each side of the elastic casing and press.

Step 6: Using the longest stitch length on your machine, stitch the short ends of the main headband tube together using two lines of gathering stitches. Leave long tails. 
Step 7: Pull top stitching tails to gather on both ends.

Step 8: Pin one end of the elastic to one side of the main headband on the bottom. Align with innermost gathering stitches.

Step 9: Stitch, backstitching several times using a wide zig zag stitch.

Step 10: Insert elastic through elastic casing and repeat steps 8 and 9 on the other side of the headband. Make sure elastic is not twisted.

Step 11: Pull pressed ends of elastic casing over stitch lines of main headband. Pin. Make sure center seam of elastic casing and main headband are both on the wrong side of the headband.

Step 12: Edge stitch on the right side of the headband, making sure to catch the casing on the wrong side.

Finished with the Elastic Headband!
I hope you enjoyed this stash busting tutorial- have fun with it and make it your own!

Simple Knit Headband that can be worn many ways.


Turn your lightweight knit stash into a versatile stocking stuffer with this ultra practical headband. Great for hiking, working out, working from home, you name it! It can also be worn around the neck or as a face covering when the temperature drops. (The ski bunny in your life would really appreciate this in stretch fleece or stretch wool!)
To make this headband, you will need a piece of t-shirt weight knit fabric from your stash. The stretchier the better.
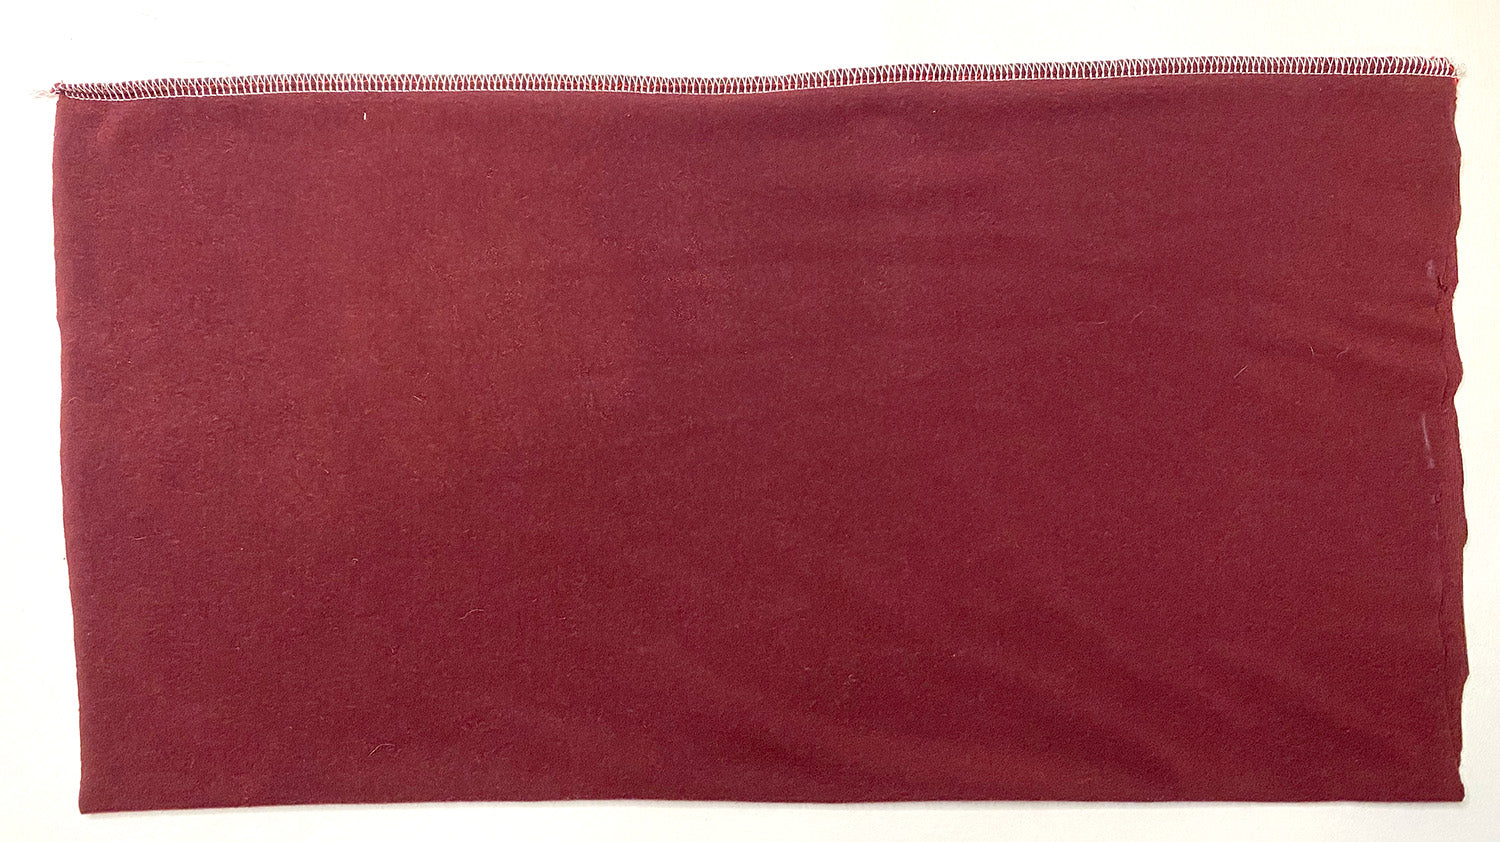
Cut one 18"/46 cm x 16"/41 cm rectangle, with the largest stretch spanning the 16".

With right sides together, fold 18" sides together and sew using a serger or a double-stitch.

Press seam to one side.

With right sides together, turn tube halfway inside out matching seams. Pin.
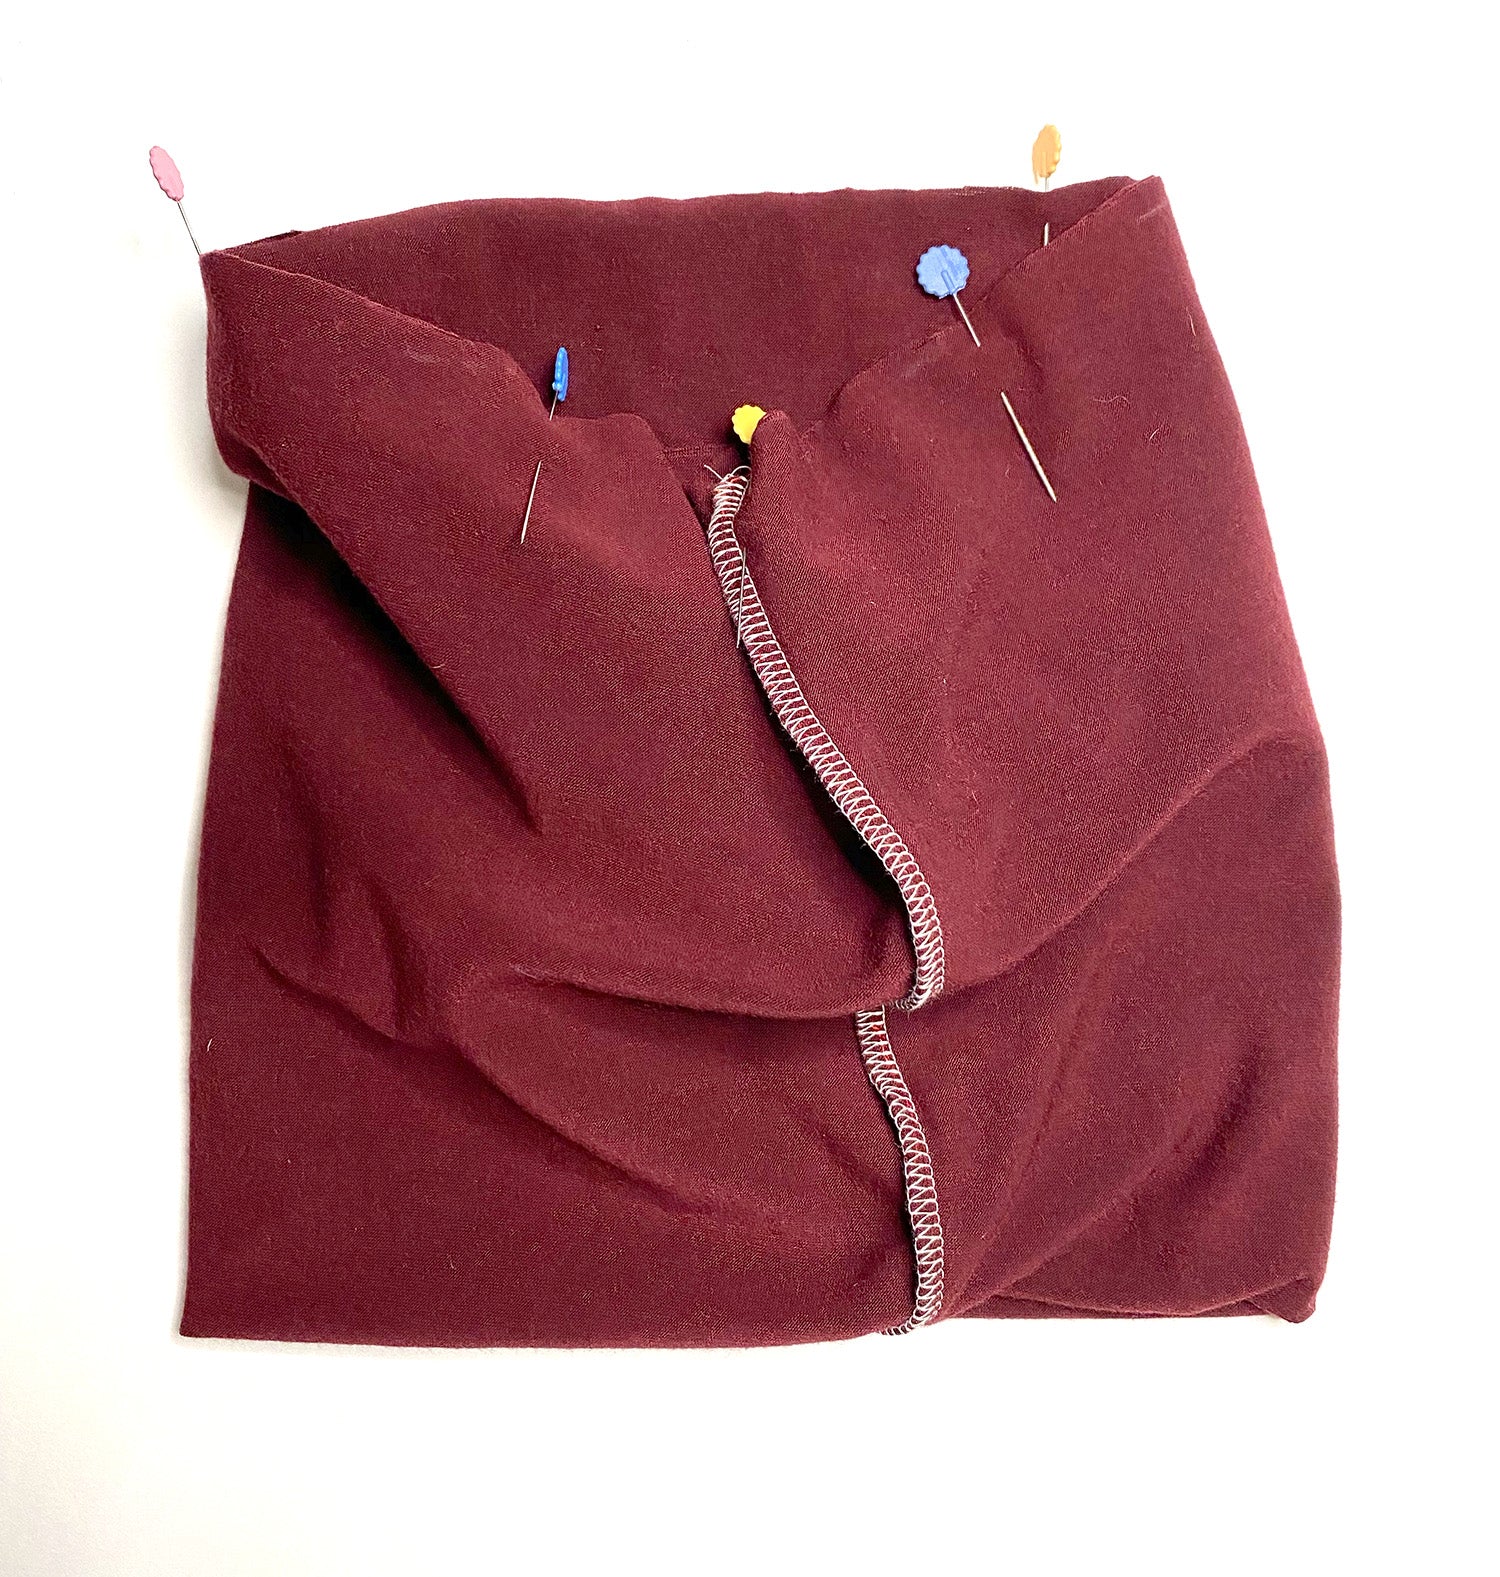
Stitch (double-stitch or serge) most of the way around the tube, leaving around 4" to turn right side out.
Turn tube right side out through opening.

Fold in 1/4" seam allowance on both sides of opening, pin.

Stitch using matching thread and small zig zags to close opening.
FINISHED!