

We're back today with another simple hack for your Sauvie Sundress, waist ties!
If you find that you'd like to have a little more waist definition in your Sauvie Sundress but don't want the elastic waist, try this simple back tie hack. The back ties pull the sides in just enough to give a subtle waistline without hugging your waist.
You will need:
- Scrap of your dress fabric
- Point Turner or Chopstick
- Thread, snips, the usual suspects
First, you'll need to decide if you want spaghetti ties or 1" ties. If you want spaghetti ties, you will need to cut your strips of fabric at 1 1/8" wide. If you want 1" ties, you will need to cut your strips of fabric at 2 3/4" wide. A suggested length for each tie is half of your back waist measurement plus 22".

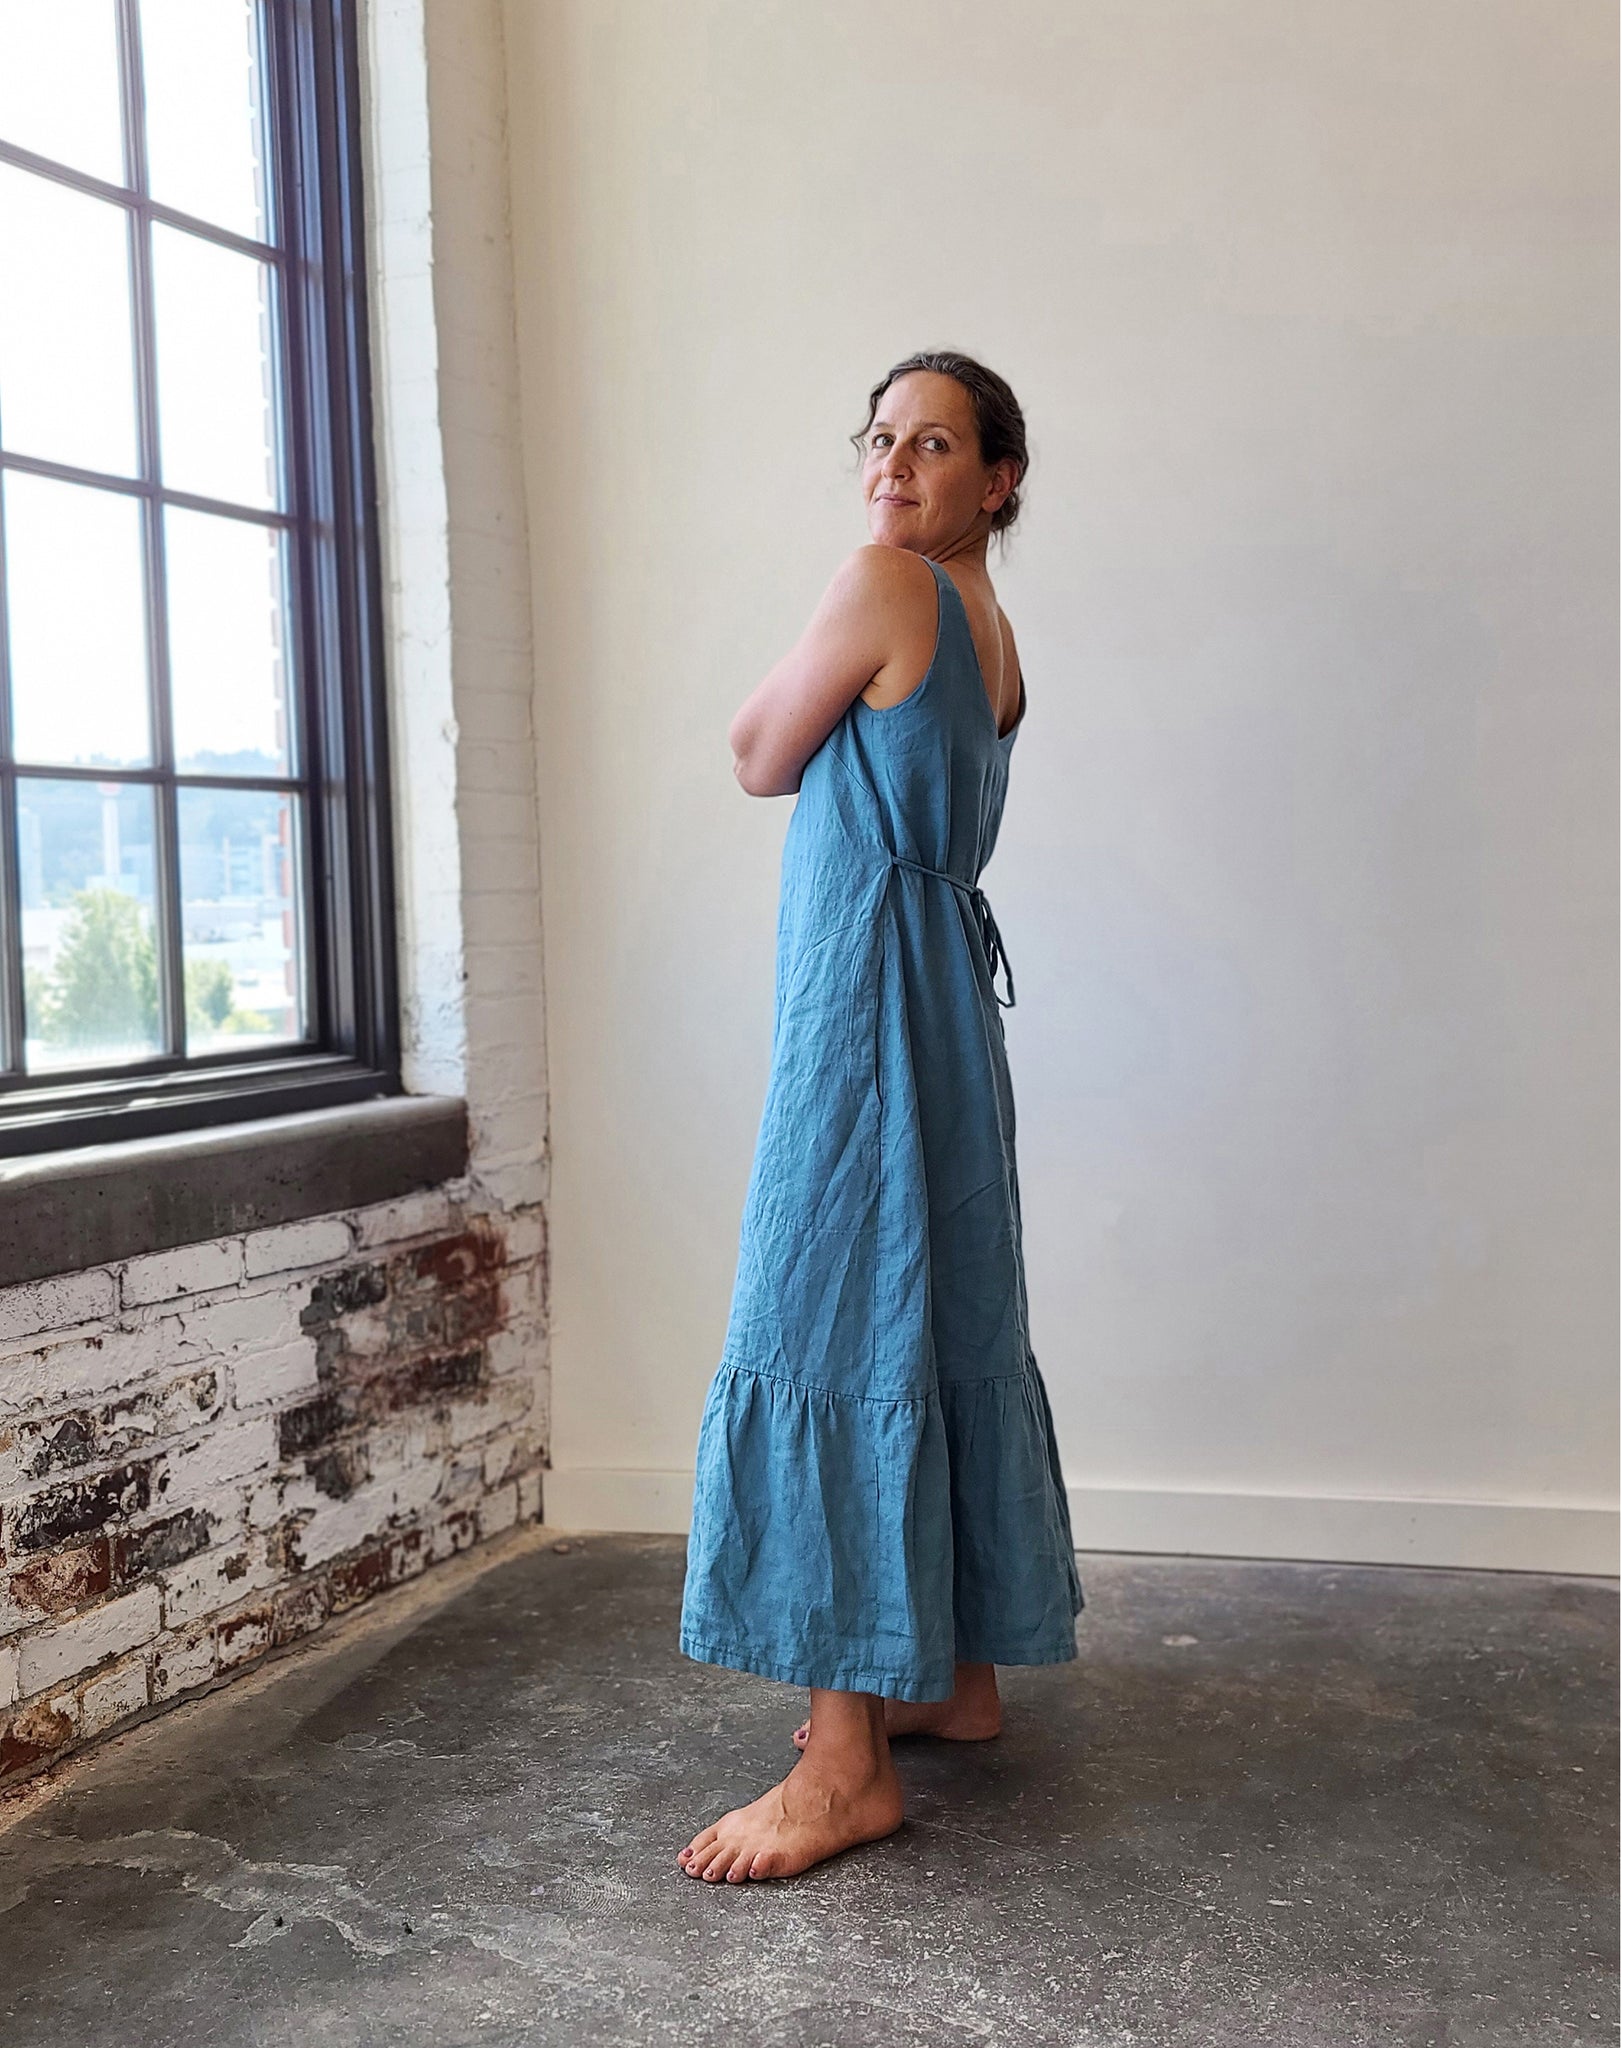
Spaghetti back ties shown above.
 To determine the length of each of your ties, measure your back at your waist and divide that number by 2. You will want each tie to be that length plus approximately 22". Cut 2 rectangles of fabric at your chosen dimensions.
 Fold your rectangle in half, lengthwise with right sides together. Starting at one short end, stitch at 3/8" seam allowance. Backstitch a few stitches, and then turn the corner, stitching the long edge at 3/8" the entire length of the tie.
 Trim the corner, and the seam allowance of the short end. Be sure to avoid cutting into the stitching.
 There are a couple different methods you can use to turn your tie right side out. I used a chopstick, because it was what I had on hand. You can also use a point turner, which is a long piece of sturdy wire with a tiny hook on one end. Starting at the short end of the tie which is sewn closed, wiggle the fabric until it starts to fold down over itself.
 This part can be sort of frustrating. I find it helps to slightly finger press the seam allowance of the short side open, and put the point of your chopstick squarely in the middle of that spot. I like to put the other end of the chopstick on a solid surface. Then I wiggle the sewn tube of fabric, until it finally starts to fold down on itself. Be patient, it will happen!
 Once it finally starts to turn in on itself, you will continue down the entire length of your tie. Be sure to ease the fabric down the chopstick incrementally.
 Once you can see the end of the right side of your tie, you can remove your chopstick and finish turning the tie right side out. It will look a little worse for wear.

 After pressing, it looks great. It only took a little bit of sweat, maybe some tears, hopefully no blood. You did it!

We will insert our ties into the side seams of the dress, before sewing up the side seams (step 5 a. in the instructions.) Or... if you've already sewn up your dress, you can unpick the side seams about 1 1/2" down from the dart, making an opening about 2" long. Place the waist ties about 2 1/2" down from the dart seam, sandwiching the ties between the FRONT DRESS (1) and BACK DRESS (2).
Finished! Easy peasy.
We would love to see your #sauviedress hacks on IG.
