


The Mississippi Avenue Dress was one of the very first patterns that I released way back in 2014. Unfortunately, back then I was so busy setting up my business that I never did get around to making a tutorial for the pattern. Although this is a very quick and easy sew, the neck instructions can be a little confusing and intimidating so I have made this quick tutorial for the neck portion only. You can see the entire dress tutorial here. I hope you find this tutorial helpful.
Happy sewing!
Peggy
NECK FINISHING - steps 4 a. - 4 h.
With wrong sides together, fold the bias neck facing in half and press.

Fold the left end raw edge of the corner down about 1/4"/6mm for about 1 1/4"/3cm along the length of the facing. This will will hide the raw edge of the facing once it's applied to the neckline and turned out.

Starting with the end of the facing that you folded down, and with right sides together, pin the neck facing to the bodice neckline, starting at the center front V and leaving a 1"/2cm tail. The photo below shows white paper underneath the neck facing so you can see the fold and the 1"/2cm tail better.

Continue pinning the facing all around the neckline until you get to the center V where you will lay the end of the neck facing over the folded end so the ends are overlapped at the center front V. Again - the white paper is just to help distinguish where the facing is on the busy printed fabric.

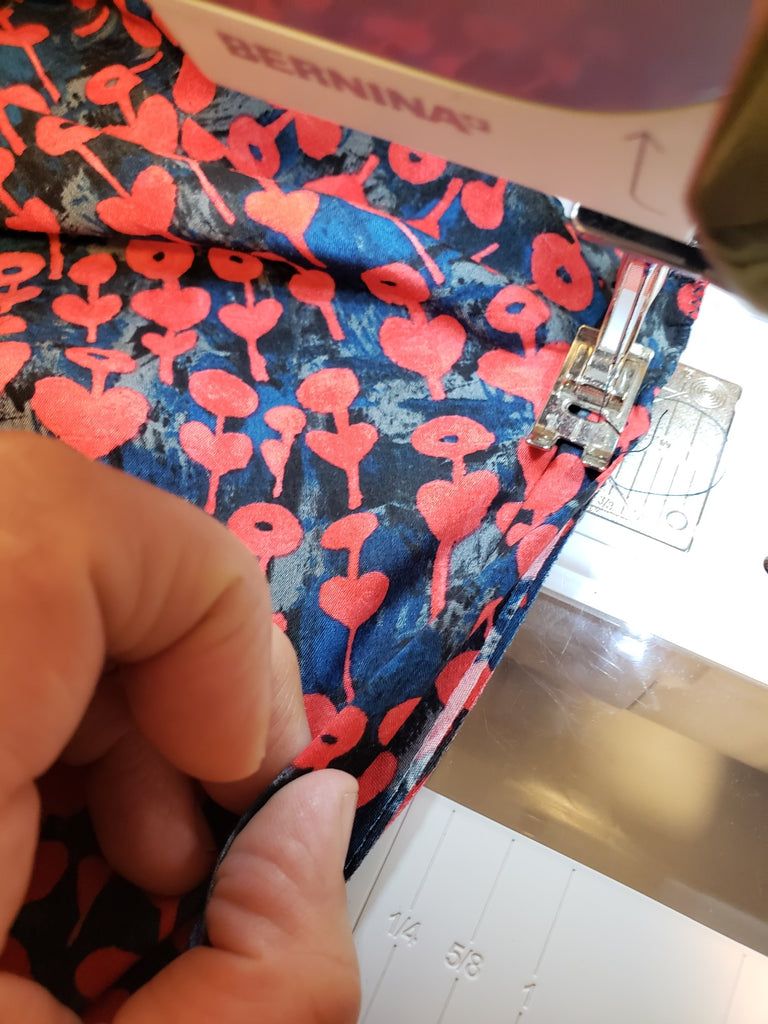
Now attach your neck facing by stitching a 3/8"/10mm seam allowance all the way around the neckline until you come to the center front V. The stitching should form a V at the front.

Trim the excess neck facing and overlap it so that the trimmed edge meets the folded edge of the opposite side.

Clip the center front seam at the center V.

You can zig-zag stitch the raw edge of the facing to the edge underneath to keep any edges from fraying.

Turn the neck facing out flat with the seams facing toward the neck facing and press. Now understitch on the facing side, catching the seam allowances underneath. Stitch about 1/8"/3mm away from the seam.


You can trim the excess seam allowance to reduce bulk before or after understitching. I did it after understitching here to be sure I caught the seam allowance in my stitching.
Now you are ready to topstitch your neckline. Be sure to add a pin or chalk mark to the center front V point so you can easily see where to start and stop your stitching.

This is what the inside V looks like when you are done.

Viola! The difficult part is over. Nice work! If you want to see the full tutorial, check out this post here.
Thanks and happy sewing!
Peggy