


Hello Wildwood sewers! Today we are going to start sewing the bodice of the dress. We left off yesterday with the homework of having cut out the pieces and today we are ready to get sewing. I am using linen from Fabrics-Store.com in the color Wild Cherry. It looks very wrinkled in these photos for some reason but in real life, it's the perfect amount of linen rumpled loveliness.
1.
We are going to start by staystitching some of the diagonally cut edges of our pieces. Even though we are just working on the bodice today, we can go ahead and staystitch ALL of the pieces that need it - skirt included. Staystitching helps maintain the shape of the piece and reduces the chance for stretching out areas that are long or diagonally cut.
The diagram below shows the areas and directions that you will staystitch the neck self-facing edges, shoulders and waist of the front bodices (piece #1), the shoulders and waist of the back bodice (piece #2), the pocket edges of both the right and left front skirt pieces (pieces #3 & #4), and the diagonal opening of the pocket bags (piece 6). Stitch about 1/4” (6mm) away from the cut edge taking care not to stretch the fabric.

Staystitching areas and directions.

staystiching
2.
Just a heads up - in my instructions, I say to finish the seams with a serged edge, a zig-zag stitch or pinking shears after you've sewn the seam. However, I often like to finish the seams before I sew them depending on the seam and the fabric type. It often comes down to personal preference unless the fabric is easily stretched out by first finishing the edges and in that case, I like to finish them after the seam has been sewn. If you finish the edges beforehand, please note that your seam allowances may need to be just slightly narrower due to trimming and tightening of the finishing techniques.

Above I show finishing the center front edge of the front bodice and the center back edge of the back bodice pieces before I sew them together. Do as I say, not as I do and be sure to set the tension on your serger correctly (if using one). My edges are a little puckered because I left the tension for knits on my serger but I'm too lazy to pull them out (hehe).
Next we will fold the center or neck self-facing edges of the front bodice (piece #1 - 2 pieces) in toward the wrong side 3/8"/10mm and press. Then stitch them in place 1/4"/6mm away from the folded edge.

Hemming the neck self-facing edge of the front bodice.
3.
Now we are ready to mark the pleats on our front bodice pieces. There are several ways to do this. You can use a fabric pencil, marker or chalk, or you can use a tailor's tack (mark the dots using a thread and needle), or you can use pins like I am showing you below. I'm not sure if pins are the most efficient way but I've been doing it for years and I'm a creature of habit. Also, I like to mark the wrong or back side of the fabric.
Lay the pattern piece up against the cut fabric piece and push the pins through to the fabric. I usually do this on my ironing board or a soft surface that is ok to push pins into.

Transferring markings using pins.
Then I carefully fold down the pattern to reveal the pin placements and put new pins in their place.

Continue whatever technique you prefer on the shoulder pleat and both waist pleats and on both front bodice pieces.
Now, with right sides together, fold the front bodice at the the center of the shoulder pleat, matching the pins or marked dots for the pleats and pin in place at the dots/stitching line.

Next stitch from the top edge to the dot and press the pleat out towards the sleeve opening. Stitch in place with either a basting stitch or machine stitch about 1/4"/6mm away from the cut edge or somewhere within the seam allowance.

Now repeat this technique with the waist pleats.

Pinning the pleat markings.

Pinning the pleats together.

Both shoulder and waist pleats stitched, pressed and basted in place.

A close-up of the finished waist pleats basted down.
4.
With right sides together, we are going to sew the center back neck/collar together with a 5/8"/16mm seam allowance.

Press the center back neck/collar seam open.

Fold the Front Bodice self facings over to the inside of the garment (wrong sides together) by folding at the center of the back collar and at the waist point. Fold the facing so that it meets the inside collar edge and pin in place.

Facings folded in place.
Baste the facing and collar together at the top shoulders and neck edge 1/4"/6mm from the cut edge. The instructions say to clip the corners up to the stitching. I will be showing this at a later step.

Baste the waist self-facing in place as well.

5.
With right sides together, stitch the Back Bodice pieces (piece #2) together at the center back using a 5/8"/16mm seam allowance.

Stitching the center back bodice seams using a slightly less than 5/8"/16mm seam allowance because I prefinished my seam edges and trimmed a bit on the serger.
Press the center back seam open.

And now for the French seams!
This is step one of the shoulder and neck French seams. With wrong sides together, pin the Back Bodice to the Front Bodice at the shoulders and neck matching up the center back seams and notches.


Another close-up of the corner pinned.
Now stitch the shoulder and neck in place using a scant 1/4"/6mm seam allowance. With the Front Bodice on top, start at the left sleeve and stitch through the shoulder, pivoting at the neck corner, through the back neck and pivoting again at the neck corner and down the right shoulder and sleeve.

Go slowly at the neck corners and use your hands to smooth and finagle the Front Bodice extra fabric around the pivot point.

The neck corner after the first pass of stitching.
Trim the seams or fraying edges so that they won't peek through when you encase the raw edges in the second pass/step of the French seam.


Now press the seams on the front and back side.
Next, turn the bodice inside out so that right sides are together and the raw edges of the seam are on the inside. Press the shoulder and back neck so that the seam is on the edge of the fold.
Pressing the shoulder and neck seam to prepare for the final pass of the French seam.
Now pin the seam in place.


A close-up of the neck corner pinned.
Now you are ready to start stitching the second pass of the French seam that encases all of those ugly raw edges using a 3/8"/10mm seam allowance. Be careful on the neck corners again. Go slowly and use your hands to smooth out and evenly distribute that extra fabric on the Front Bodice neck when you are pivoting around that corner.
 Pivoting the neck corner.
Press the French seams towards the back.

Finished French seam.
If your corner ends up showing a little of the raw edges from clipping the corner earlier, you can do a little zig-zag stitching over it to keep it from fraying more. (No photo of this).
Now is the perfect time to insert a label if you have one. You can position it under the French seam or on top as I have done below.

I like to fold and press the shawl collar in half so that the top edge meets the seam. This will help it stay rolled down when you are wearing the dress. However, some people like to wear it unfolded for more coverage.

Center back collar folded and pressed.
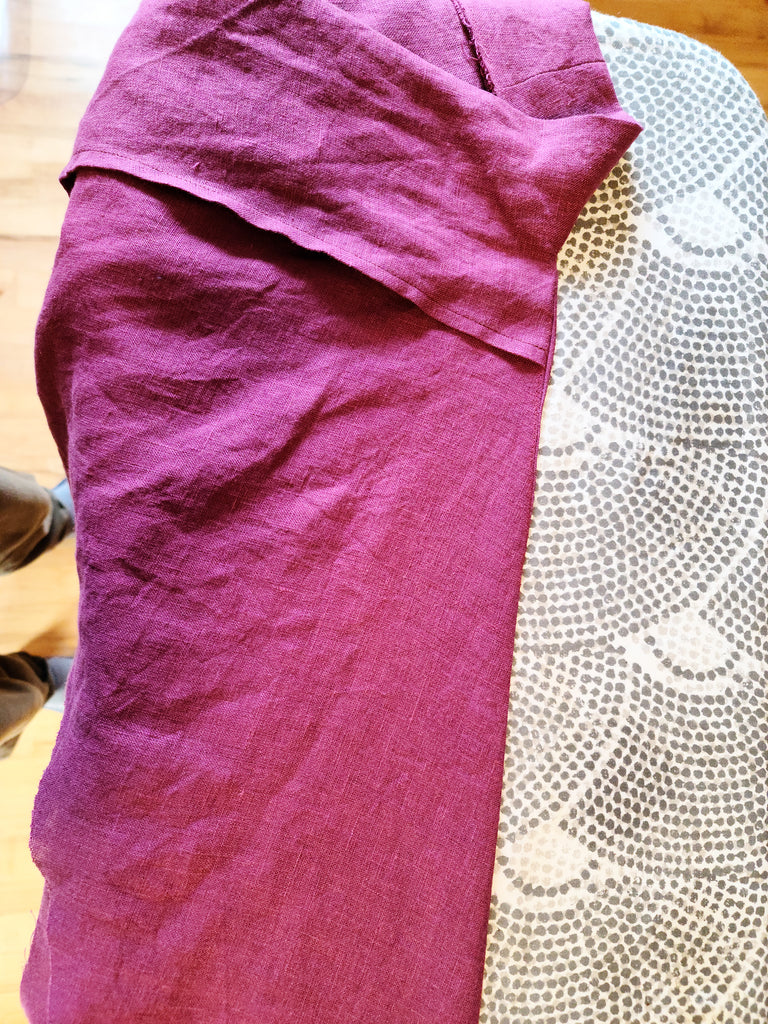
Before you stitch the underarm/side seam together, it is easier to pre press the sleeve hem while it is open. Turn the sleeve 3/8"/10mm toward the inside and press and then again 1/2"/13mm and press again.

Pre-pressed sleeve hem.
Now unroll the pre-pressed sleeve hem and with wrong sides together, pin the Front Bodice to the Back Bodice at the underarm/sides in preparation for the first pass of the French seam.
Stitch the underarm/side with a 1/4"/6mm seam allowance and trim the frayed edges.
Just as in the shoulder seams above, press the side seams, and turn them so that the right sides are together, press and pin in place in preparation for the second pass of the French seam.


The first pass of the French seam on the underarms/sides.
With wrong sides together, stitch the underarm/side seams using a 3/8"/10mm seam allowance - encasing those raw edges on the inside.

The second or final pass of the French seam at the underarm/sides.
6.
Press the side seam and re-roll and press the sleeve hems.
Hem the sleeves and press the side seams toward the back.

Hemmed sleeve and pressed side seam.
Of course you will repeat these steps for the other side seam and sleeve hem.
 And that completes the bodice portion of your Wildwood!
Join me tomorrow for the belt, skirt and dress assembly finishing of the Wildwood Wrap Dress sewalong. You're almost there!
See you all soon!
Peggy