


This sewing tutorial was done before the pattern was updated to include the extended sizes. The original pattern used 5/8" seam allowances and the updated pattern uses 3/8" seam allowances. Be sure to read your instructions for seam allowance amounts.
Hello there sewists! A few days ago we talked about our Toaster supplies, and sewing with knit fabrics. Today, we are cutting our fabrics and sewing up our sweater version one! Version two publishes tomorrow, so stay tuned for that.
Before we start, I want to point out that I used tan thread and a double needle for topstitching. If you have more than one machine, it's a good idea to thread one with the needle and thread you'll be using for construction; thread the other with the needle and thread for topstitching if you choose to do so as it is optional.
For this version of the sweater, my fabric is a double-faced governor's fleece from Style Maker Fabrics. This means the right side of the garment is in navy blue, and the wrong side is oatmeal. This also means I used three colors of thread for this sweater! A natural, a navy, and a tan! I like my garments to look as gorgeous inside, as out!
LAYOUT, CUTTING & MARKING
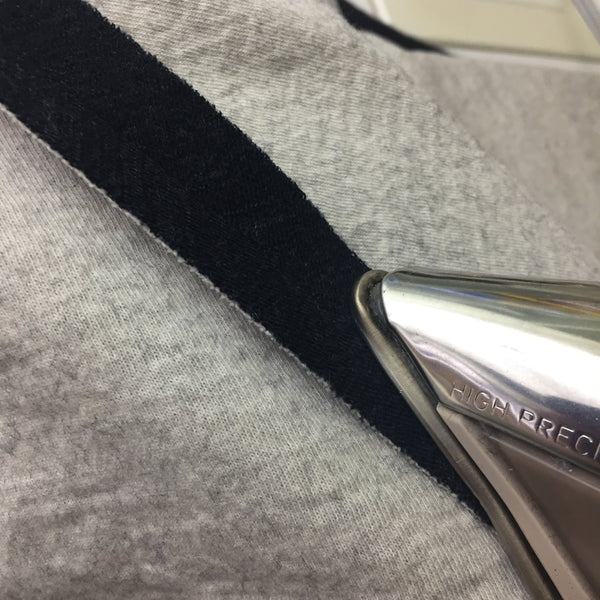
So for cutting, I went ahead and made my pattern markings by a 1/8" snip into the seam allowance:

I use a safety pin on the public side of the garment on the body and/or sleeve fronts - to help me easily keep track of which piece is which. Below, you can see (from the top) the t-neck, sleeve, cuff, back, front, and bottom band - all ready for assembly:
A note from Peggy - Marking your pieces to distinguish them is an important step. I have twice mistaken a body for a sleeve and vice versa as the pieces look very similar.

SLEEVES TO BODY
(page 6 of the printed booklet, page 7 of the pdf version)

As in most raglan tops, we'll be sewing up all the sleeve seams such that our front, back, and sleeves are applied and the raw edge of the neckline (where the t-neck affixes) is joined - essentially a sweater without side seams. Raglan sleeves always seem to come together easily. Pin at the notches for both front and back sleeves, before stitching:

Here is the seam, after it's sewn:

Go ahead and finish all four seams.
Now, there are many ways we can finish this seam. For the lowest bulk and a handsome effect inside and out, I chose to press these four seams open, topstitch with a double needle, and then trim close to the topstitching seams on the underside:
2-needle topstitching (optional)

Note that for this topstitching, I used the tan thread through the double needle (above) - and used a navy blue for the bobbin, as the navy blue thread would be least obtrusive in the seam allowance.


After trimming:

Looking gorgeous - no?
T-NECK
(pages 7 & 8 printed booklet, pages 8 & 9 pdf version)
Next, we create the t-neck by stitching together the short edges of the rectangular neck piece, right-sides together.
For the t-neck, the cuffs, and the bottom band, I first steam-press this joining seam open. I then clip the bottom and top raw edges of this short-edge seam allowance, snip the allowance right in the middle, and grade the seam allowances for low-bulk:


When the t-neck, cuffs, and bottom band are folded in half, these seams will be lower-bulk than if they weren't graded.
Next, we join the t-neck to the raw edge of the shirt neckline, right-sides together. I like to pin well here before stitching, for a smooth application:


Press this seam to set the seam. Then grade - but this time, leave the neckline raw edge at it's 5/8" length, and grade the other allowances accordingly. Shown below: the graded seam allowances, with a shoulder seam running from left to right on the wrong side. The longest seam will encase the others when we topstitch:

Lightly press, then topstitch the seam allowances to the sweater's body, and carefully clip this seam to the stitching on the underside.

We are already almost done!
SIDE SEAMS
(page 9 printed booklet, page 10 pdf version)
Now, we join our side seams. You can serge these if you like; I sewed with a zig-zag, then zig-zagged 1/8" away from the stitching line, and trimmed:


CUFFS & BOTTOM BANDS
(pages 9 - 11 printed booklet, pages 10 - 12 pdf version)
Now, we sew our cuffs and bands, more or less exactly as we sewed our t-neck.

Remember to grade at these seam allowances - otherwise you will have fairly bulky seams:

I like to give these cuffs (and later, the waistband) a good steam press to flatten them before topstitching):

Now, for topstitching the cuff, the directions state, "Because of the small circumference of the sleeve opening, you will need to be able to fit the CUFF around the arm of the of the sewing machine." This is an error in the instructions (see pattern errata for any other pattern errors).
Carefully stitch with the cuff somewhat embracing the needle bar. This is a bit finicky, but it can be done. Stitch a few stitches, carefully reposition, and so on. I'm an old hand at sewing tiny cuffs for babywear so I'm used to this sort of thing!

Both the cuffs, and the waistband can be finished with your topstitching method:

And - boom! We're done!
Now throw that sweater on, and rock the fall weather!


