Hello stitchers! Welcome to our first sew-along at Sew House Seven - for our Toaster sweaters!
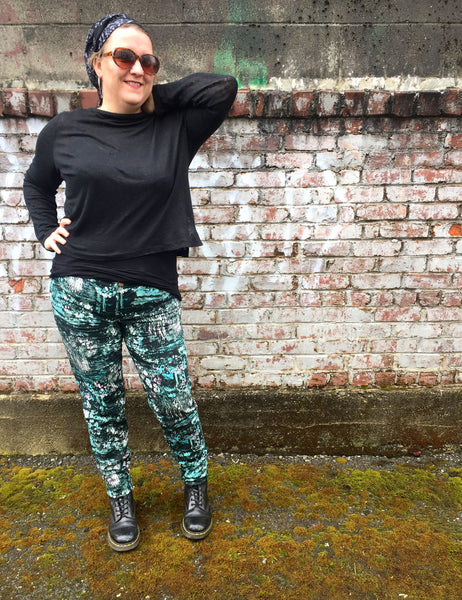
First, a little bit about me: my name is Kelly Hogaboom and I've been sewing about thirty-two years! Here I am, in a Toaster of my own (in a semi-sheer linen knit):
I have a tailoring business in Aberdeen, Washington, and I am also the Vegan Tailor online! As the latter, I wrangle a Facebook page and website where I volunteer my expertise to those who need support. Sew-alongs are a particular passion of mine - I'm in the middle of performing one a month for a year! - so it is a delight to be able to do this for Peggy and her wonderful line of patterns.
I've had a great late summer and fall making custom orders - and costumes - and several menswear pieces. So receiving the Toaster Sweater pattern in the mail and making a few simple but gorgeously-drafted sweaters has felt like a mini-sewing vacation!
I admit, I may have gone overboard. Five sweaters in as many days! I can't get enough of the Toaster. Version one features raglan sleeves, a cropped silhouette, wide cuffs and bottom band, and a t-neck. Version two is a looser fit with side vents and a gorgeous funnel-style neck.
So before we dive in - let's talk about knits, first.
If you are an experienced sewist when it comes to knits, you don't need any advice from me. But for many beginners, knits are intimidating. I think of having success with knits, as kind of like baking bread. When you're first trying to get it right, it's easy to have all kinds of mishaps. But after a certain degree of proficiency, it becomes delightful to explore with different recipes, as it were!
The Toaster is great, because the knit we are working with should be stable, with relatively low stretch and good recovery. This means it is about the easiest knit project you could tackle. You could even make a version in a quality polar fleece - one of the easiest knits to sew with - to get your sea legs.
Shown below: a high-loft, mid body sweater knit:
Keep in mind, I also made the sweater in a few thin tissue knits, with pretty results. But a thin or drapey knit means the neckline will not stand up - be warned. And the necklines are major features of the sweater.
So - sewing with knits. While this topic is vast, I have a few resources to peruse. For one, the Ann Person's Stretch & Sew Guide is a classic. I also have a few links - including the Timmel tutorials, archived on my site with the author's permission - that I found helpful when I was first sewing knits.
So without further ado - here are our supplies!
Yes, our supplies really are that simple - the pattern, the fabric, and thread! In this case, I have a really nice double-faced navy heather knit - governor's fleece from Style Makers Fabrics, Gutermann's navy thread and two spools of tan thread - for double-needle topstitching detail on version one. So if you are interested in this kind of finish, make sure to buy a double needle (in ballpoint or universal, for the knit fabric) and check that your machine can handle a double needle (most can). It's important to note that while you can certainly use a double needle for version two, double needles don't gracefully turn right-angle corners (as at the side vent) without a little trickery.
So let's talk about version two!
Here, I am using a tomato red mid-weight sweater knit (I know - gorgeous!). Since I won't be using contrasting topstitching, I have a thread that matches the fabric. And don't worry, we'll be talking about top-notch stripe alignment as we sew!
Now - once you have your pattern, it's time to trace! There are many ways to trace or transfer a pattern! One that I like, is using wax (I buy mine from Richard the Thread, and use packing tape to reinforce the backside)!
An even sneakier cheater-way to trace - is not to use a tracing element at all! If you use light paper and a firm surface, you can use your spoked wheel to trace your cutting lines and marks, and then take a pen or colored pencil and sketch the lines in the impressions. This method works great, and is a little quicker than wax paper! You need good lighting - of course!
Remember, too, to pre-treat your fabrics the way you'll want to pre-treat your garment. I hand- or gentle-wash my custom clothing, and drip dry. If you are working with wool, you will want to take extra care as a stable wool knit can shrink quite easily upon washing and.or drying.
As for me, I usually wash and dry by machine to pre-treat, because I have a very busy life and family members who've been known to make laundry mistakes!
So - the sew-along posts will be released on the 14th (version one) and 15th (version two). This is a quick, but satisfying sew.