Today we start our Tea House stitching in earnest! We are on page five, and staystitching:
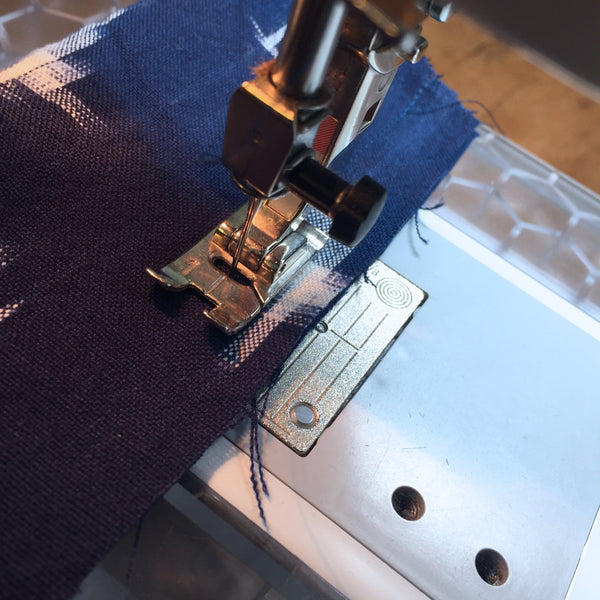
Staystitching is done just inside the seam allowance - for this pattern, at 1/2" (1/8" from the seamline of 5/8"). Stitch from the shoulder seams to the center of the garment for pieces A, D, and E.
Taking up the neck ease
Note from Peggy - If you are using a man made fabric, this next step may not work well as the fabric may not shrink up as well as a natural fiber during the ironing/pressing. You may try only taking up about 1/8" rather than the full 3/8". If it's not working and looks wrinkled, just skip this step and leave the neckline flat.
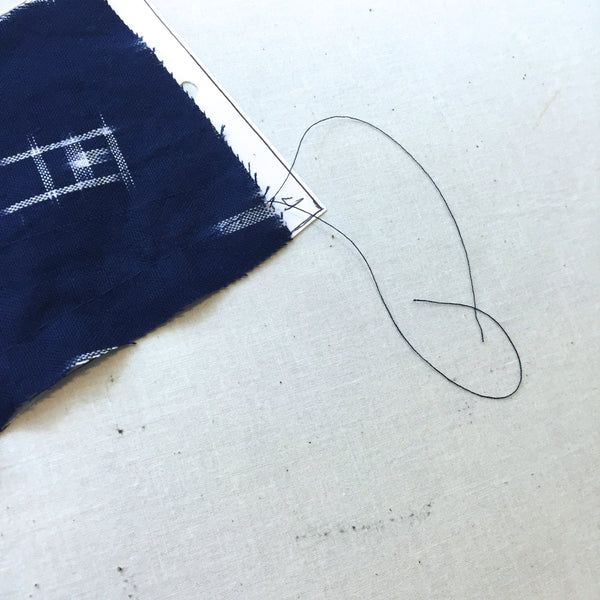
Now, we get to one of the fiddlier bits of the garment - the neck ease for the Front Yoke and Front Yoke Facings (piece B). Here, we are sewing long running stitches (I used a 4.0mm) and leaving long tails. We will be gently gathering those stitches up, to make small gathers in the yoke and yoke facing pieces:
Note from Peggy - see the image below.
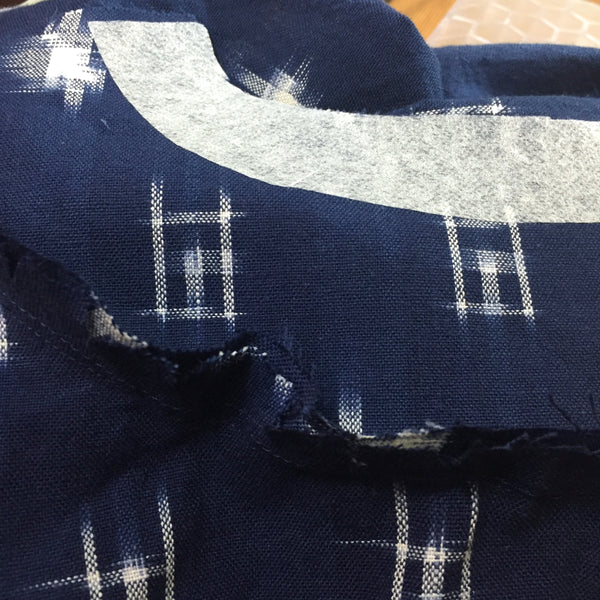
So - look how gathered that looks! But don't fear. We are going to use steam to essentially press these gathers out entirely, before installing our interfacing. First, we need to make sure we've gathered the right amount. We are gathering the front piece so the entire length of that front cut edge is 3/8" shorter than the paper pattern piece, like so:
Using the point of your steam iron, gently press out these gathers. Use patience - they will come out. You don't want any ripples or bumps.
Perfectly flat! This preparation, along with the interfacing, will assure the neckline looks gorgeous and lies flat:
Now, we apply our interfacing to these B pieces - and also to the E pieces, the Bake Yoke and Back Yoke Facing. Follow the fusing instructions for your interfacing:
Ties
Set aside your yoke pieces. Now we will be creating our ties for versions A, B, or C (view D, E, and F ties will be covered next installment).
So fold the tie piece long-sides together, and sew down the long side and one short edge, shortening stitches at the corner:
Go ahead and grade the seam, clip at the corners, and press this seam open.
Turn the tie right-side out using the bone folder at the corner, then press each tie gently:
Now - our back pleat! (please note that page 6 instructions contain errata: go ahead and fold with the right-sides together). I sewed down 1" from the raw edge on my chalk mark, firmly backstitching:
Gently steam-press the pleat open, and set the back piece aside.
Attaching the Yokes
We are now sewing our first seam to require seam-finishing! The Front Yoke and Lower Center Front (B and C) are joined, finished, and pressed. Note you can see my "fussy cutting" keeps this seam from being disruptive or jarring:
Finally, we are attaching our back yoke.
Attaching two opposing curves (one concave and one convex) is one of the trickier seams for stitching. But with accurate cutting, some preparatory work, and sewing slowly - you will have a great curve!
I first clip the concave piece (piece D, the Back) right to the seam allowance, and pin to the Back Yoke (E):
I then sew slowly, placing the convex piece (piece E) against the machine and using my left hand to gently ease the pieces together:
Examine the seam to make sure there are no bumps or ripples:
Now - see how much excess there is in this seam? Clip, grade, and notch. Press up gently toward the Back Yoke. You won't need to finish this seam beautifully, as it will be hidden by the Back Yoke Facing.
And - that's all for today! Next installment we will be installing our ties and pockets, and I will cover the tie and back tunnel for views D, E, and F.